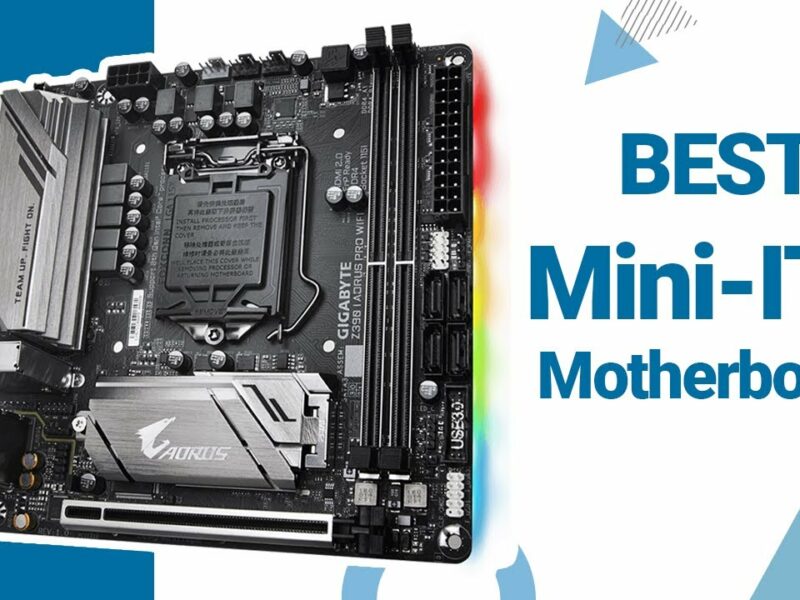

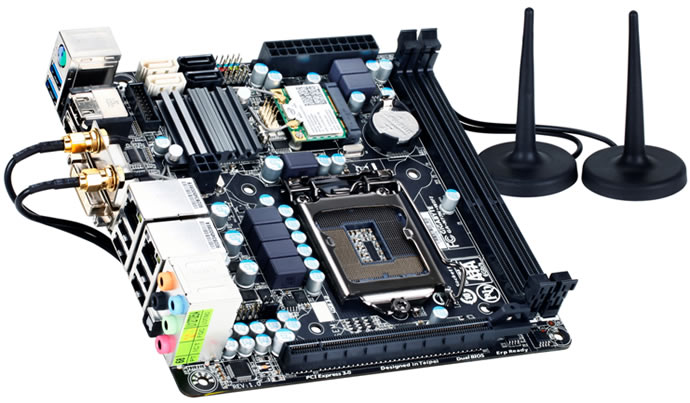
When choosing a mini-ITX motherboard, there are several things you need to consider. The first is the form factor. Mini-ITX motherboards come in two sizes: 6.7 by 6.7 inches and 4.7 by 4.7 inches. The second thing to consider is the chipset. Some of the most popular chipsets include the Intel H110, the AMD A320, and the Gigabyte B450. You also need to consider the supported processors. Most mini-ITX motherboards support both Intel and AMD processors, but you should check to make sure before purchasing one.
You also need to consider the number of USB ports, SATA ports, and PCIe slots available, as well as any other features that are important to you. Once you’ve considered all of these factors, you should be able to choose the best mini-ITX motherboard for your needs. Thank you for your time.
How to choose a mini-ITX motherboard
Choosing a mini-ITX motherboard can be a daunting task. There are so many options available on the market, it can be hard to know where to start. Here are a few things to keep in mind when choosing a mini-ITX motherboard:
First, decide what kind of processor you want to use. MicroATX motherboard comes with processors ranging from low-power Intel Atom processors to the more powerful Intel Core processors.
Second, think about your budget. mini-ITX motherboards can range in price from around $50 to over $200.
Third, consider what features you need. Some mini-ITX motherboards come with built-in Wi-Fi and Bluetooth, while others have more PCI slots for expansion cards.
Finally, read reviews online to see what other people have had to say about the different mini-ITX motherboards available on the market. This will help you make an informed decision about which motherboard is right for you.
The best mini-ITX cases for your new motherboard
If you’re in the market for a new mini-ITX case, then you’re in luck. There are a ton of great options to choose from. Here are some of our favorites:
The Corsair Carbide Series 100R is a great option if you’re looking for a budget-friendly case. It features a simple, minimalist design and comes with a pre-installed CPU cooler.
If you’re looking for a more high-end option, the Phanteks Enthoo Evolv ITX is a great choice. It’s made from premium materials and features a sleek, modern design. It also comes with built-in RGB lighting and support for liquid cooling systems.
Finally, if you’re looking for something that’s both stylish and functional, the InWin 301 might be right for you. It features an elegant all-aluminum design and comes with built-in dust filters to keep your system running smoothly.
A mini-ITX case is a great option for those who are looking for a smaller and more compact computer case. They are typically much smaller than a standard ATX case, and they often have a more stylish design. They are also a great option for those who want to save space on their desk.
One of the downsides of mini-ITX cases is that they often don’t have as much space for internal components as larger cases. This can make it difficult to build a high-powered computer using a mini-ITX case. However, if you are looking for a smaller, more stylish case that doesn’t require a lot of internal space, then a mini-ITX case is the perfect option for you.
How to install an operating system on a mini-ITX motherboard
Installing an operating system on a mini-ITX motherboard can be a bit tricky, but with a little effort, it can be done. The first step is to download the installer for your chosen operating system and burn it to a CD or DVD.
Once the installer is ready, you’ll need to boot your computer from the disc. This can usually be done by pressing a specific key on your keyboard while your computer is starting up. The key will be listed in your motherboard’s manual.
Once you’re booted into the installer, follow the on-screen instructions to install the operating system. Be sure to select the “mini-ITX” option when prompted, as this will ensure that the installation is tailored specifically for your motherboard.
Installing an operating system on a mini-ITX motherboard can be a bit tricky. In order to do so, you’ll need to have a USB drive or CD with the OS installer on it, as well as a Phillips head screwdriver.
First, power down your computer and disconnect all of the cables from the motherboard. Once you’ve done that, remove the screws from the back of the case that holds the side panel in place. Then, lift up the panel and set it aside.
Next, locate the mini-ITX motherboard and remove the screws that hold it in place. Be careful not to touch any of the components on the motherboard, as they may be delicate. Once the motherboard is free, set it aside and install the new one in its place.
Now, it’s time to install the operating system. Connect one end of a USB cable to the motherboard and plug in the other end into your computer. Then, insert your installation media into your computer’s drive and restart your machine.
When your computer starts up, you should see an option to boot from your installation media. Select that option and follow the on-screen instructions to install your operating system.
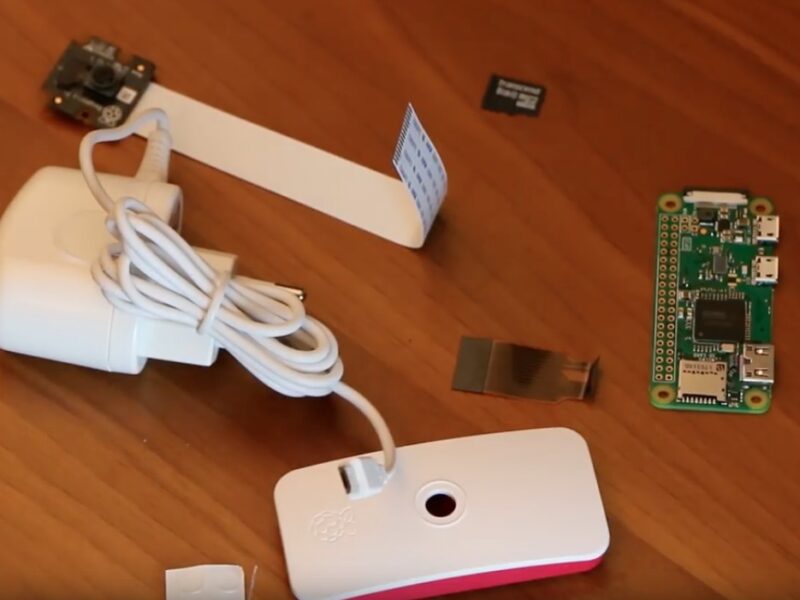
5 must-have accessories for your mini ITX build
If you’re looking to build a mini ITX PC, there are a few essential accessories in Tekdis you’ll need. Here are five of the most important:
1. A power supply: Make sure to get a power supply that’s compatible with your mini ITX motherboard and components.
2. A fan or heatsink: If your CPU or graphics card generates a lot of heat, you’ll need a good fan or heatsink to keep them cool.
3. A case: The case is arguably the most important part of any PC build, and it’s especially important with mini ITX rigs. Make sure to get one that’s big enough to fit all your components, and that has good airflow.
4. A storage device: You’ll need some way to store all your data, so be sure to pick up a good hard drive or solid-state drive.
5. A keyboard and mouse: These are essential for inputting data and controlling your PC. Make sure to get a wireless keyboard and mouse if you want to avoid clutter.
With these five accessories, you’ll be well on your way to building the perfect mini ITX PC. Just add in your choice of components, Steps to build your very own Mini-ITX motherboard